Tranfer animation between blender and maya
Tranfer animation between blender and maya
Now I'll show you a way to transfer animation between maya and blender.
Until now Blender doesn't support alembic format so we have to use an another way to transfer animation between these applications.
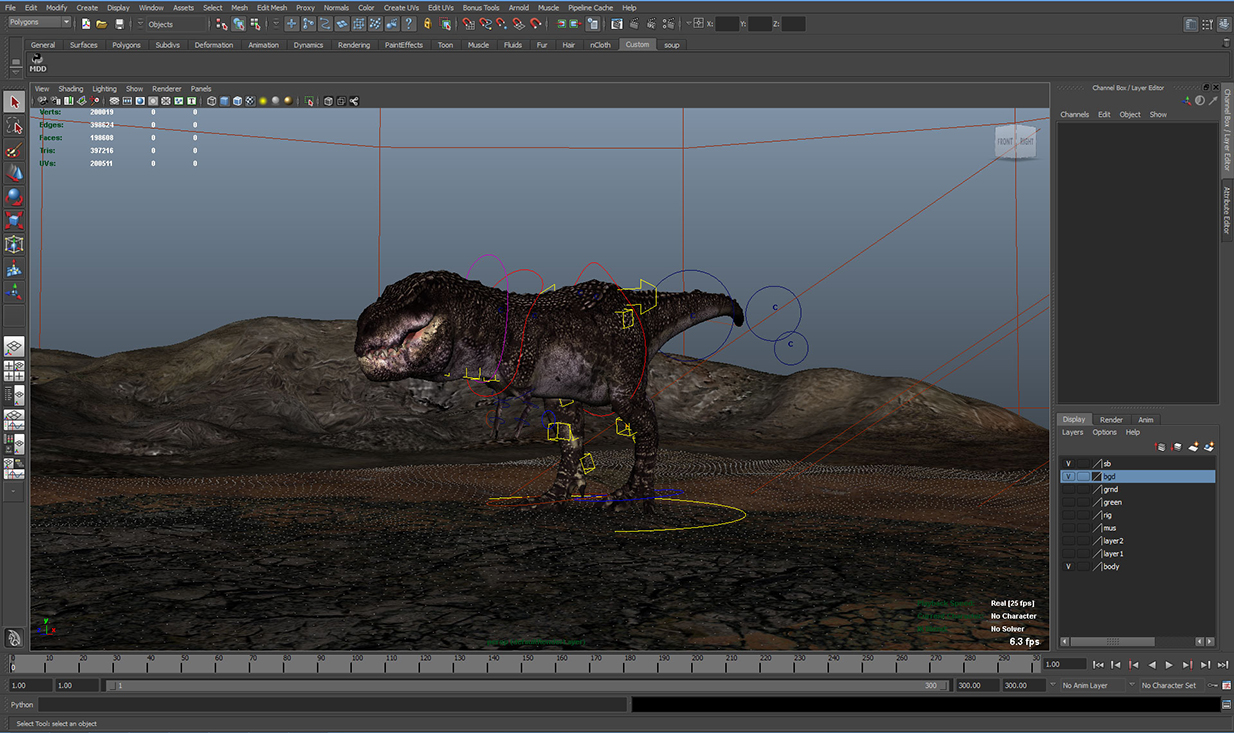
In this specific project I had a trex animated in maya but then I wanted to add some facial details.
Since I had a very simple rig setup for the face, the quickest way to make the details, insteed to remake the rig, was to export the model with animation, import it to Blender and use the power of sculpting Shape Keys.There you can sculpt details in specific frame of the animation or with smooth brush
you can fix problematic areas of the model. Really powerful and amazing tool.
So lets begin.
First you need to install a free plug in to export .MDD files from Maya.
So go there: http://www.creativecrash.com/downloads/maya-to-houdini-particles-mdd-obj-exporter
Follow instruction to install the script and open Maya
This is a python script, so in command line area switch from Mel to Python and type:
import fx_mdd_obj_exporterfx_mdd_obj_exporter.runUI()
You can drag it to shelf to create a shelf of the script if you want too.
Ok so now with the mesh selected run the script
Select the time range you want the type of the file, in our case MDD.
Finally choose destination folder and click Export.
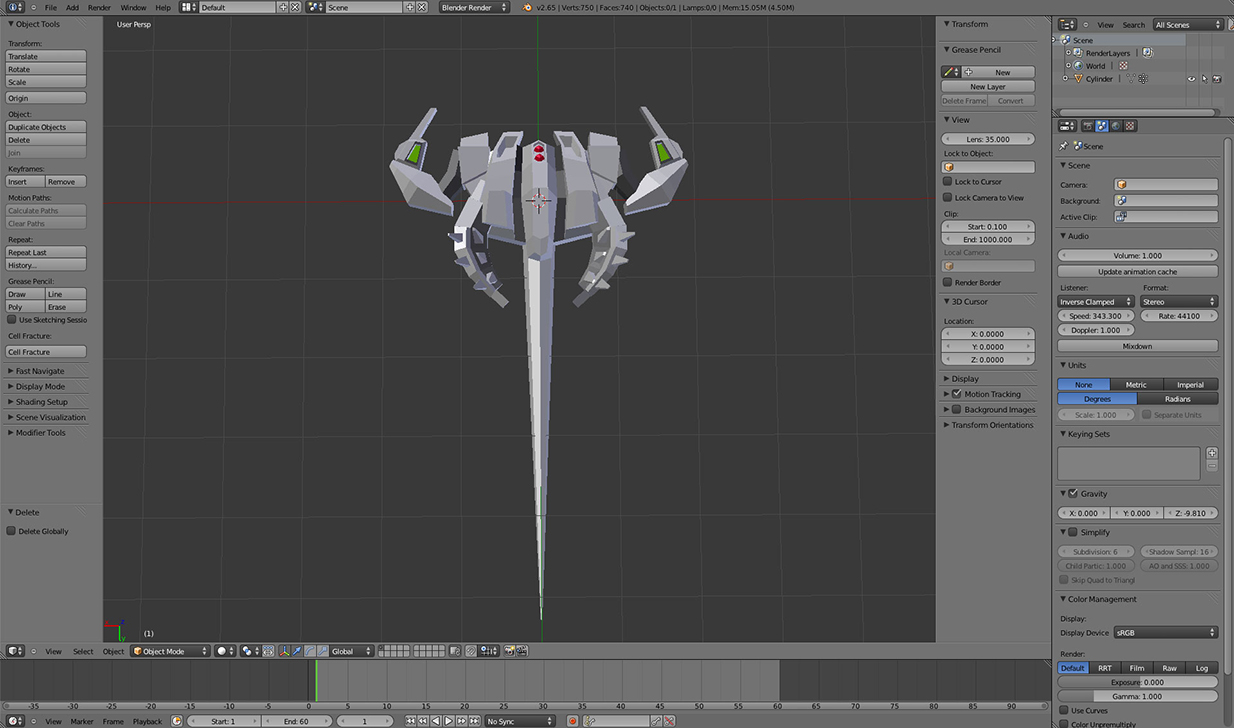
Now open Blender go to File/Import select .obj and navigate the folder that you exported the.MDD file from Maya.There is also an .obj file, select it and from import properties select '' Keep Ver Order''
then click Import.
Ok then go to File/User Preferences/Addons and from Import-Export section check .pc2 and .mdd.
We need .mdd to import animation data and .pc2 to export and then convert it to .mc maya cache file
through Mel command.
With mesh selected now import the .mdd file, File/Import/Lightwave Point Cache .mdd
In timeline you can see the baked keys.
Ok so now lets do some fixes with sculpting tools and create some corrective shape keys.
Select the mesh and go to Object Data tab.
Go to frame that you want to make changes( in my case frame 194).
Ok now go to Shape Keys panel and create a new Shape Key.Rename it something like
New_Frame_194 or Frame_194_Fix and set Value to 1.000.
Go to Sculpt Mode and with brushes do the changes you want.
Above you can see the model at frame 194 with Value 0.000 (default) and with Value 1.000(fixes).
Make as many fixes as you want creating new Shape Keys for each frame you want to fix.
For this tutorial I will not fix any other frame.
So now open a new DopeSheet Panel and select the new Shape Key from the list.
Then set keyframes to Value to make a nice transition from old to new Shape Keys.
Ok and now lets export the new animation.With mesh selected go to Export and select Pointcache.pc2
Back to Maya, import the .obj file of the mesh and move it aside of the original model just to see the differences.
Ok now we want to also import the new animation files to the new mesh. To do that we have first need to convert the .pc2 file to .mc maya cache file format.
To achieve that we will use a Mel command. The command is :
cacheFile -pc2 1 -pcf "c:/test/mypc2.pc2" -f "mayaCache2" -dir "c:/test/" -format "OneFile";
So got to Mel Command area and type this command. For my case is:
cacheFile -pc2 1 -pcf "c:/Users/Vassilis/Desktop/BakeMDD/trex_fix.pc2" -f "mayaCache2" -dir "c:/Users/Vassilis/Desktop/BakeMDD/" -format "OneFile";
So choose the right path and the right file names and press Enter.
If you do it right you will have a successful notice.
So if you open the destination folder you will see the mayaCache.mc file.
Ok lets now load the new cache files to our model. With the new mesh selected go to Animation menu and from Geometry Cache menu choose Import Cache, then select the mayaCache2.xml.
Now rotate the model in X axes 90 degrees and in some cases like this, some face normals need to be fixed.
Go to frame 194 to see the differences between models.
Now you can transfer the materials to the new mesh and render!


really nice!! Thank you :))
ReplyDeleteOhh...man...!!!...Grt THank you...
ReplyDeletei installed the script like in the desrciption from creatvecrash but i always get this error message
ReplyDeleteimport fx_mdd_obj_exporter
fx_mdd_obj_exporter.runUI()
# Error: ImportError: No module named fx_mdd_obj_exporter #
what could i do?
Hi, did you switch to Python in command line area, before running the script?
ReplyDelete